
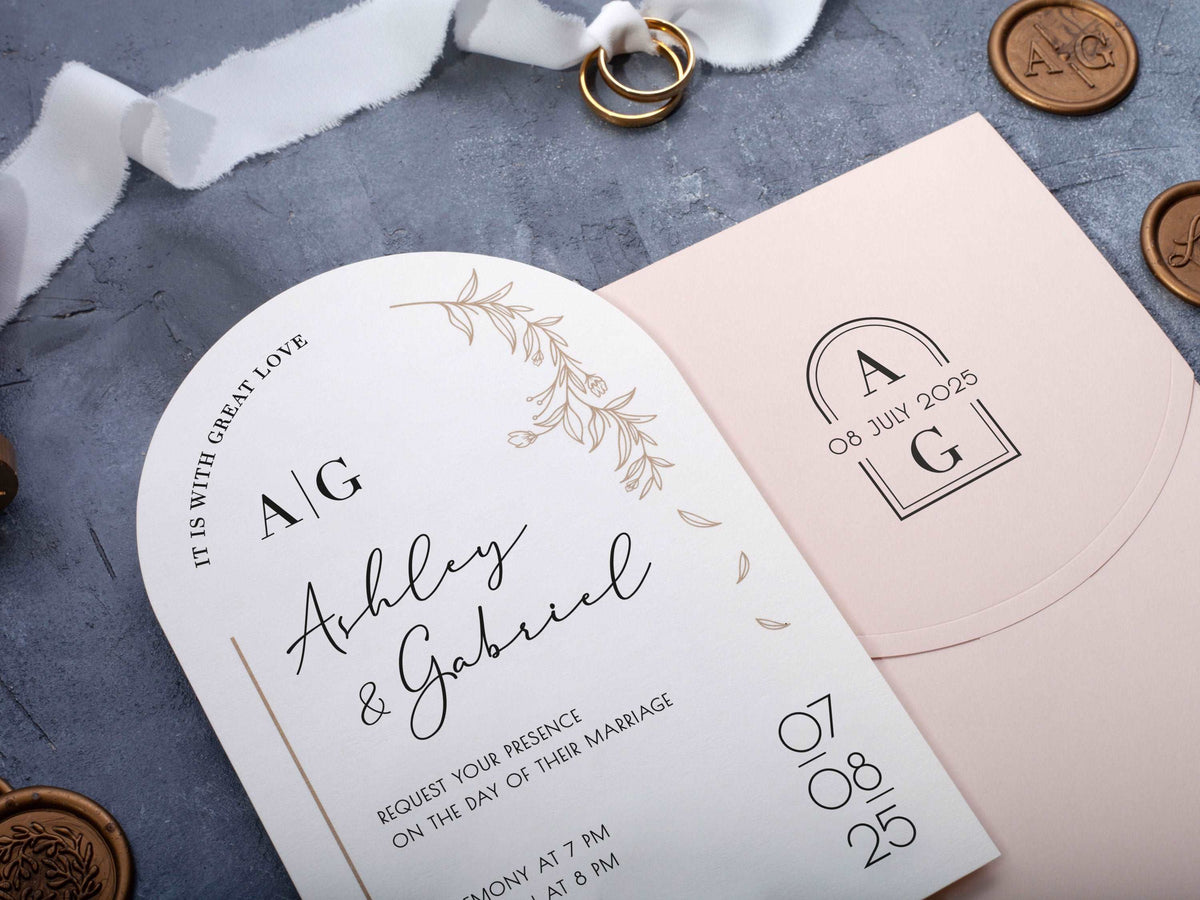
An arch can frame a photo, soften a simple card, or add shape to an acrylic design. The best choice still needs room for your names and wedding details. Use this guide to compare the curve, photo crop, wording space, and layers in the actual invitation you plan to order.
In short: Arch wedding invitations use a curved silhouette to frame your wording or photograph. Keep important text inside the widest readable area, allow breathing room near the curved edge, and check the design with its envelope or jacket. Compare paper, acrylic, and photo-led examples using the actual listing details rather than shape alone.
How does an arch shape change an invitation layout?
An arch changes the usable space near the top of a card, so plan the wording inside the shape rather than treating it as a rectangle. The widest area usually gives the most room for longer lines. A curved top can frame a short heading or monogram, but it does not have to hold the longest names.
Look at the full card, not just its outline. Some designs use an arch-shaped main invitation; others combine curves with a jacket, photo flap, or layered suite. Those constructions can have very different reading areas. Ask which piece is shaped and which parts open or lift away. The answer matters more than a style name when you start arranging the wording.
Compare open and closed views in our arch wedding invitation collection. Notice where the main text begins and how much space sits around it. A shape that looks striking in a close photograph should still work at its real size. Start with the layout you can read comfortably, then choose the decorative details that suit your celebration.
Where should names and venue details sit inside the curve?
Keep full names and essential venue details inside the main readable area, with clear space between the wording and the curved edge. You do not need to follow the outline with every line. Straight text can create a calm center while the shape supplies the visual interest. Use the curve as a frame, not as a limit you must fill.
Prepare the longest wording first. Full family names, a two-part venue name, or an additional ceremony line can change the balance more than a short sample phrase. Try natural line breaks before reducing type size. Give names room to stand out, but keep the date, time, and location easy to scan beneath them. Decorative script works best when practical details remain clear.
Check the top and bottom together. Moving a heading upward may create room below, but it can also crowd the curve. A short reception note needs its own space rather than being squeezed against the edge. If your wording will not fit comfortably, choose a different layout or move nonessential details to another piece. Do not assume the sample photograph represents your final text length.
How can you crop a photo for an arch invitation?
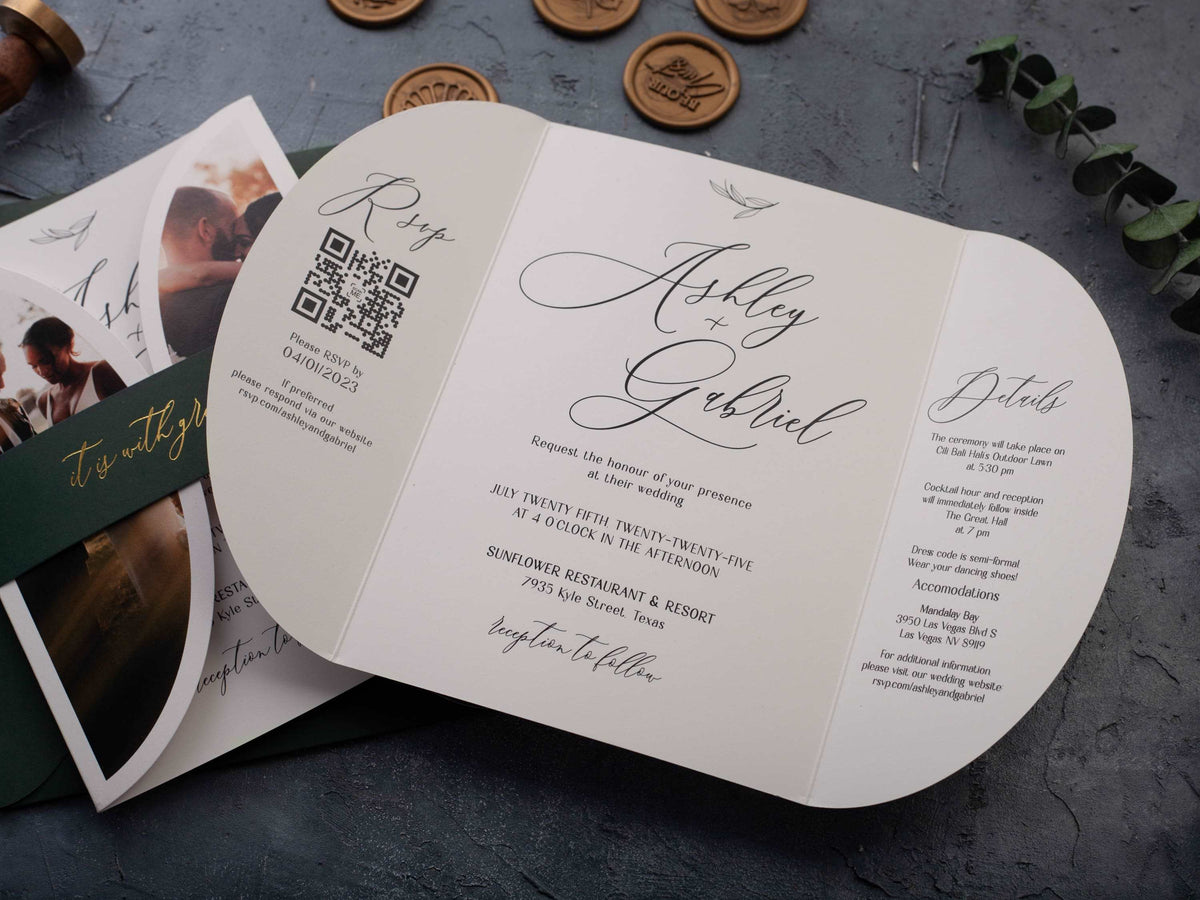
Choose a photo that leaves enough space around faces and other important details for the actual crop. An arch can trim the corners or change how the upper part of an image reads. In a gatefold design, the closed panels may create an additional break. Check both the crop boundary and the fold before choosing the final photograph.
The arch and gatefold photo listing below shows a photo-led closed view beside the open invitation. Use the example to think about the opening sequence, not only the picture itself. Keep faces away from a meeting edge when the layout allows it. A background with fewer distractions can make a narrow photo panel feel clearer without needing extra decoration.
Send the original image file and review the placed version at the intended size. Avoid judging sharpness from a small phone thumbnail. If the crop removes a meaningful detail, try another photo instead of forcing the first choice. Browse photo wedding invitations for different picture layouts, and confirm the chosen product’s personalization options before planning text or images in a new position.

What should you compare in paper and acrylic arch designs?
Compare the material, printing, and visible background as separate choices. An arch silhouette alone does not tell you how the invitation will feel or how the wording will read. A paper card has an opaque surface; clear acrylic lets the background take part in the presentation. Confirm the exact material and finish named in each listing.
The arch acrylic example below pairs gold foil wording with a navy envelope. Notice how the letters and outline appear against the surface beneath the card. Review the design on more than one background, since a styled photograph may show its most flattering angle. Foil also changes with the light. A screen image cannot show every reflection you will see in person.
Compare our paper wedding invitations with acrylic wedding invitations after you have chosen a wording layout. Read the listing for size, included pieces, and available options; do not infer them from a prop in the photo. If a sample is available, use it to check the actual finish and text contrast. Choose the combination that stays readable as well as matching your preferred look.

How do jackets and layers affect the curved silhouette?
A jacket or backing layer can frame an arch, but it can also cover the curve or change what guests see first. Compare the complete assembled invitation with the main card on its own. Decide whether you want the arch visible immediately or revealed after opening. Neither choice is required; the reading order should fit the design.
Look for overlap around names, dates, and any image near the top. A band or flap can work as a simple closure when it does not hide information guests need at the next step. If several layers carry decoration, keep the main wording area calm. Repeating every motif on every piece can make a small invitation feel busy even when each item looks attractive alone.
Confirm which layers belong to your selected option. Listing photographs may show several views or available variations, and those are not a substitute for the included-pieces description. Check the finished size and envelope fit with the seller. Do not add a jacket simply to follow the curved shape; a plain envelope can let the arch stand out with fewer pieces to handle.
What should you check before approving an arch invitation proof?
Check the final text, the cut shape, the image crop, and the assembled presentation as one complete invitation. Begin with names, wedding date, ceremony time, and venue. Then check whether the curve leaves enough space around those details. Read the smallest wording at the actual finished size instead of relying on a zoomed-in proof.
For a photo design, inspect the final crop after the wording has been placed. For acrylic or foil, compare the design with its intended backing or envelope and ask about an available sample if you need to judge the finish. A home paper print can help you review scale, but it cannot reproduce transparent material or a reflective surface.
Finish by checking the selected options and included pieces against your order. Keep your final wording and proof version together so changes are easy to track. If someone else reviews the proof, ask them to find the time and place without prompting. That simple test can reveal a layout problem before approval. Choose the design that lets the curve support your message rather than compete with it.
What else should you know?
What is an arch wedding invitation?
It is an invitation with a curved arch-inspired outline or an arch-shaped card within a coordinated suite. Check the listing for the exact construction.
Does an arch invitation have less wording space?
A curved top can reduce usable space near the edge, so plan essential details within the main readable area.
Can an arch invitation include a photo?
Yes, some designs are photo-led. Check the crop, faces, and available personalization areas in the chosen listing.
Are arch invitations only made from paper?
No. The store offers both paper and acrylic examples; material and finish depend on the product.
Should wording follow the curved edge?
It does not have to. Straight, well-spaced text can be easier to scan while the silhouette provides the visual detail.
What should you confirm about the envelope?
Confirm the finished card size, the matching envelope, and which layers are included in the listing before ordering.

Leave a comment
This site is protected by hCaptcha and the hCaptcha Privacy Policy and Terms of Service apply.